
The Best Chocolate Chip Mint Ice Cream
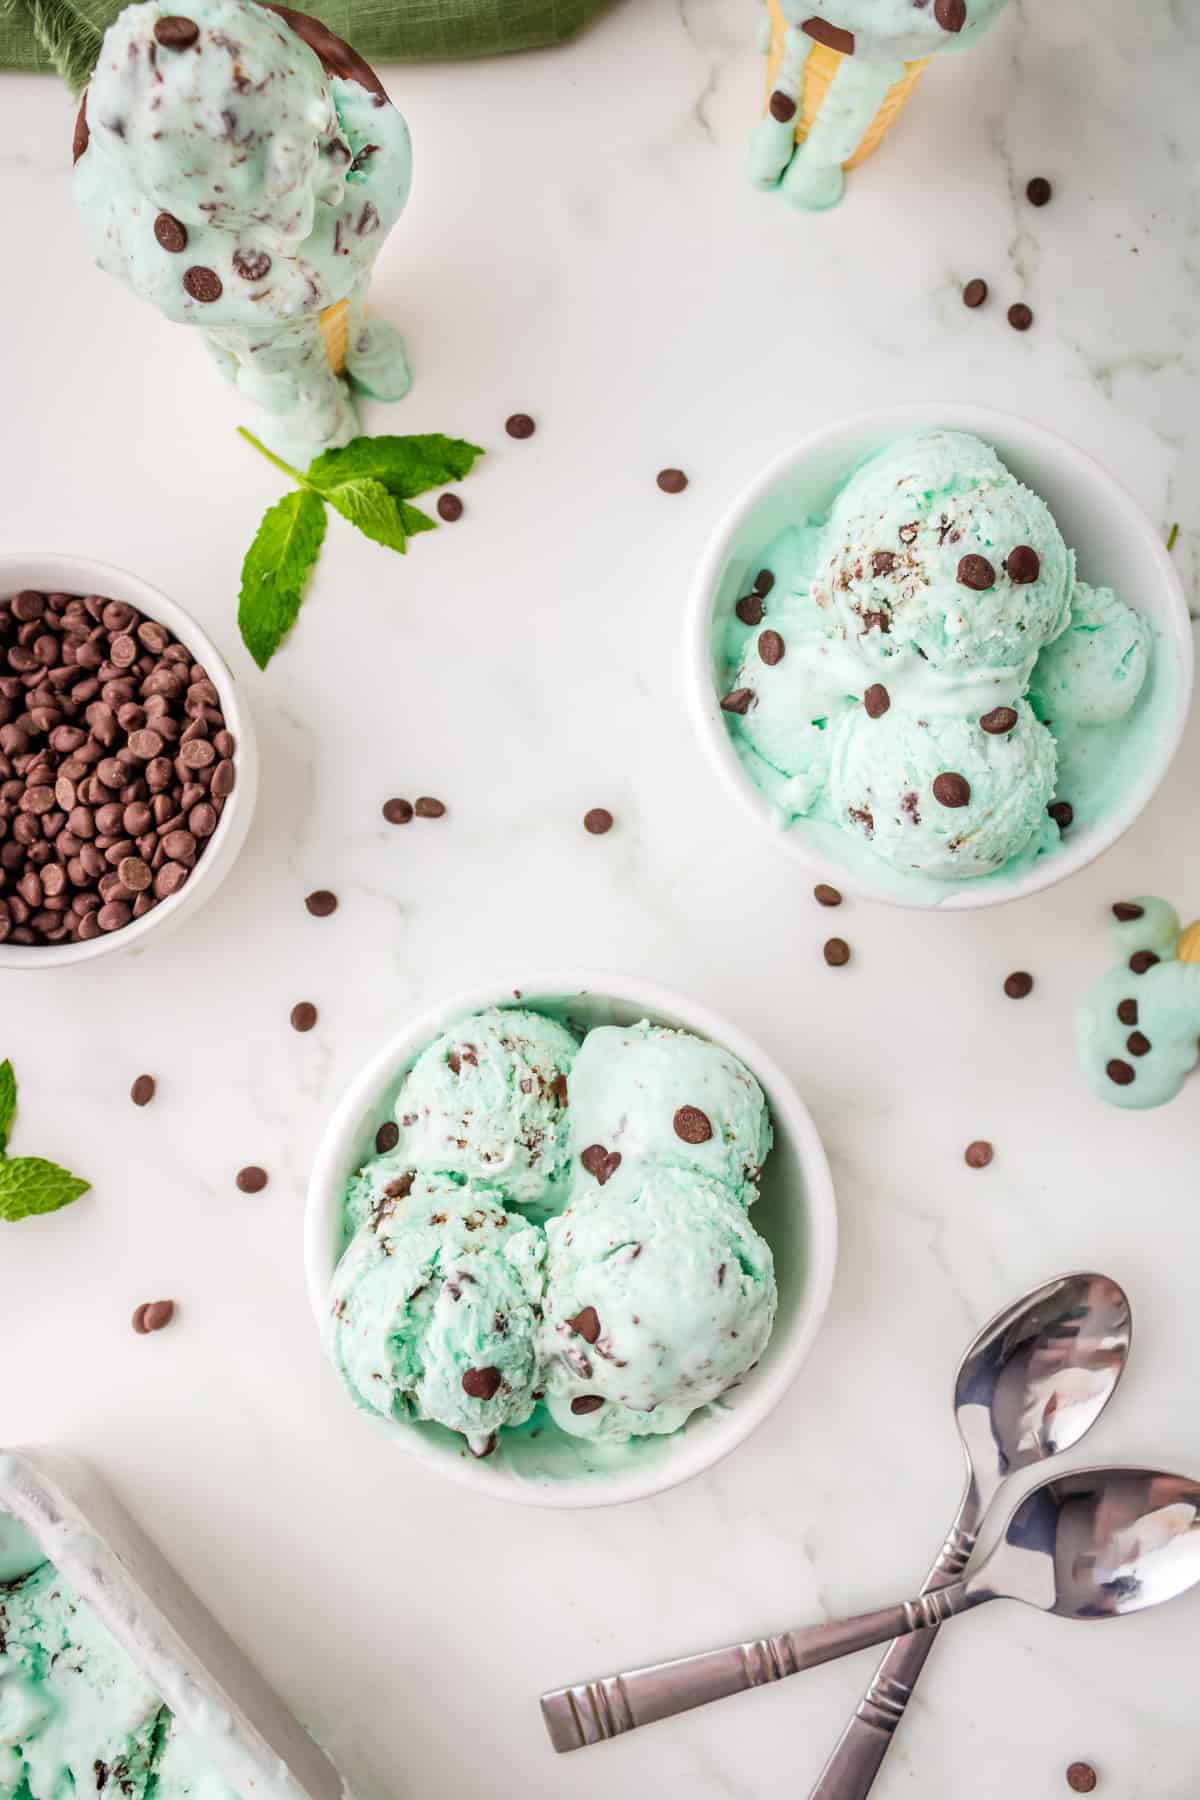
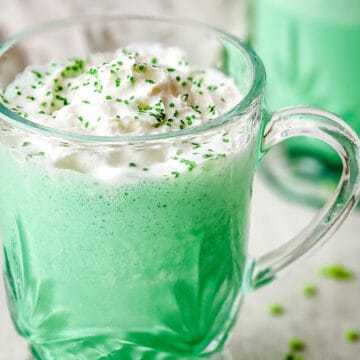
Nothing is more refreshing during these scorching days of summer than a cold bowl of homemade Mint Chocolate Chip Ice Cream! This is my family's favorite summer-time dessert recipe (along with my minty Shamrock Shake) - I can't wait for you to try it! You're gonna love it!
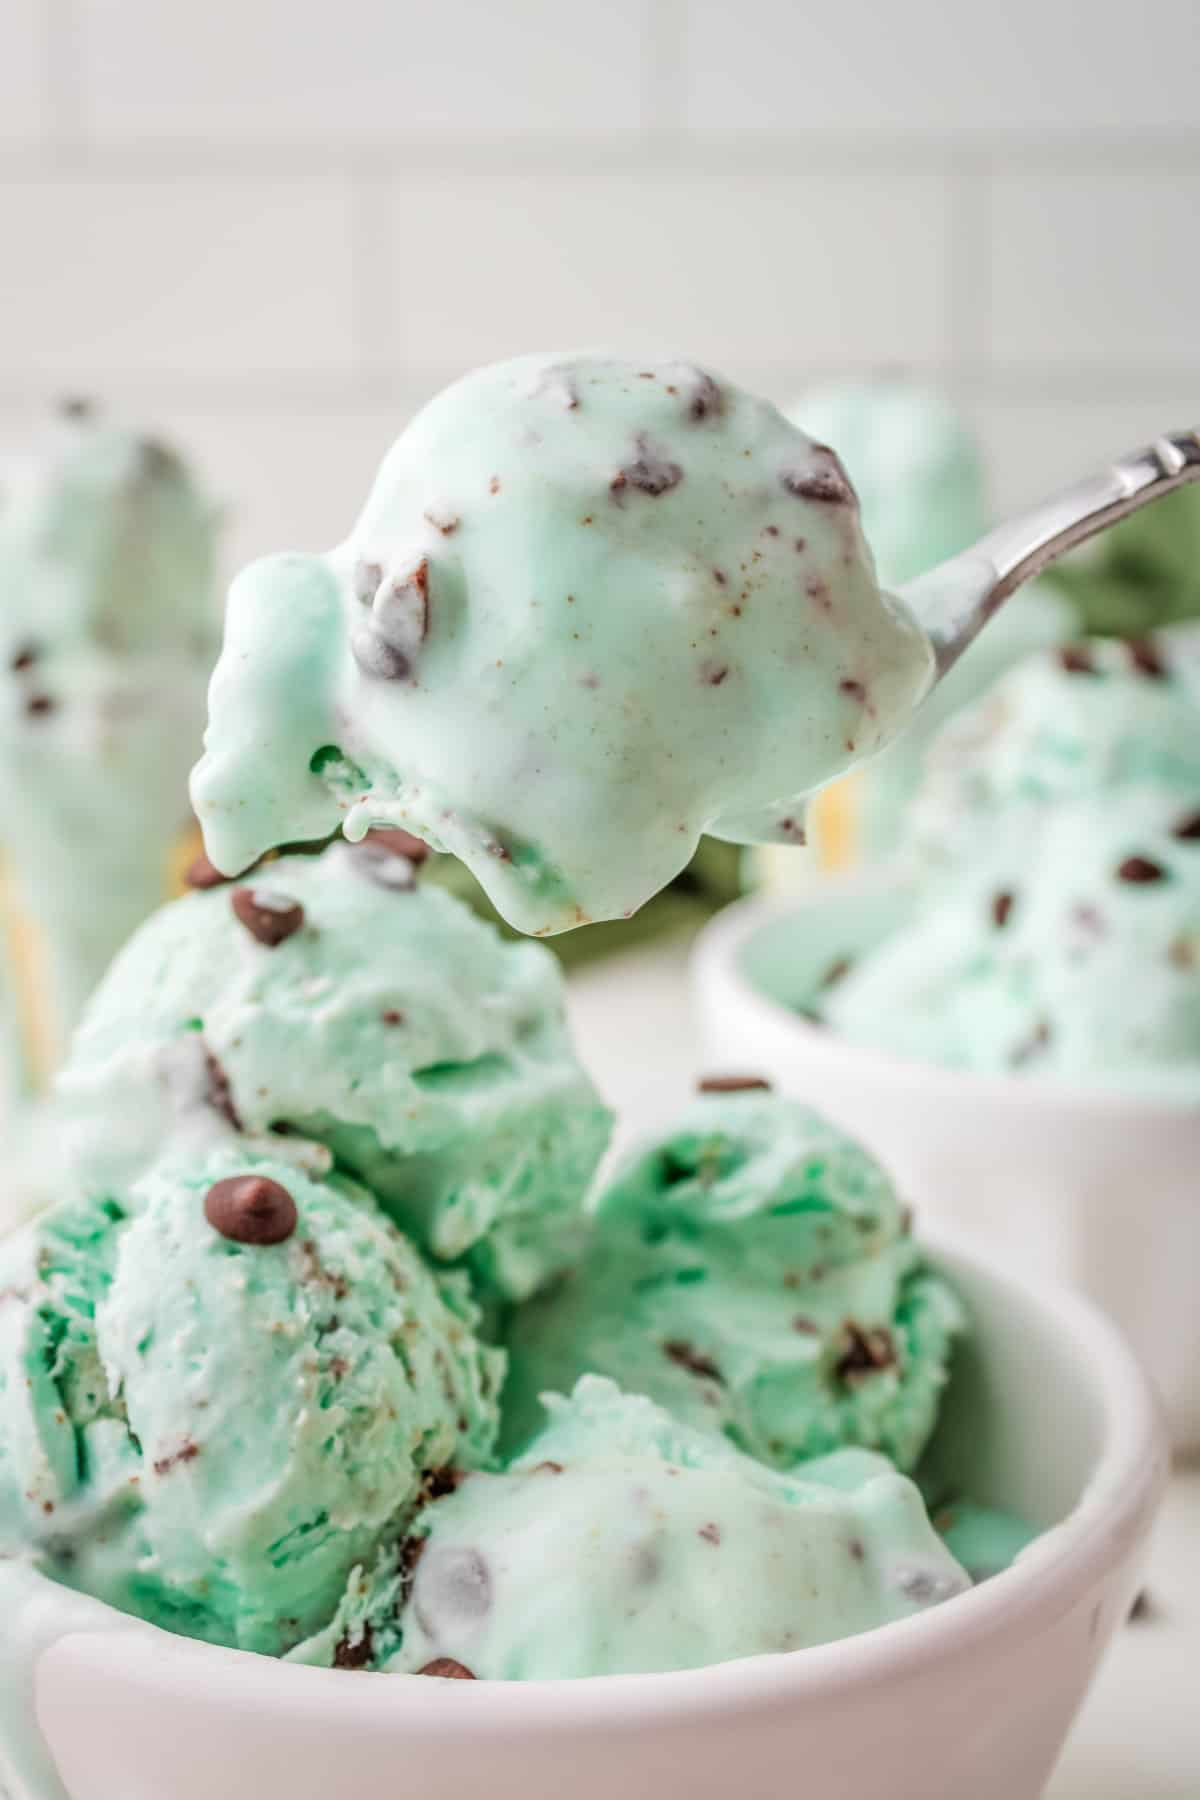
With a dreamy, creamy texture and fresh minty flavor, you'll want to make this frozen treat all summer long. Be sure to get a bowl for yourself, because if your household is anything like mine, it won't last long!

Homemade ice cream is easier to make than you may think - especially this one! Since there are no eggs in this recipe, there's no need to heat any of the ingredients on the stovetop.
No ice cream maker? No problem! All you need to make this easy no-churn ice cream is an electric mixer and a mixing bowl - that's it! No fancy equipment needed!
Store-bought ice cream can be full of questionable, hard-to-pronounce ingredients you probably don't want your family to eat. This homemade recipe is simply made with cream, milk, sugar, mint, chocolate, and wholesome goodness.
If you have a sweet tooth like me, you'll also want to try my fluffy Ambrosia Salad, buttery Linzer Cookies, and moist Carrot Cake - yum!
What's the difference between churned and no-churn ice cream?
Traditionally, churned ice cream is made using an ice cream maker that continuously churns the mixture while it freezes. This process incorporates air, resulting in a light and airy texture.
No-churn ice cream does not use an ice cream machine and usually relies on folding and whipping for creaminess. This process is lots of fun for kids to help out with. Plus, it's more convenient, especially if you're like me and don't own an ice cream maker.

Ingredients for Mint Ice Cream
This mint chip ice cream recipe uses simple ingredients you probably already have on hand or can easily find at your local grocery store. (For measurements, please scroll down to the recipe card below.)
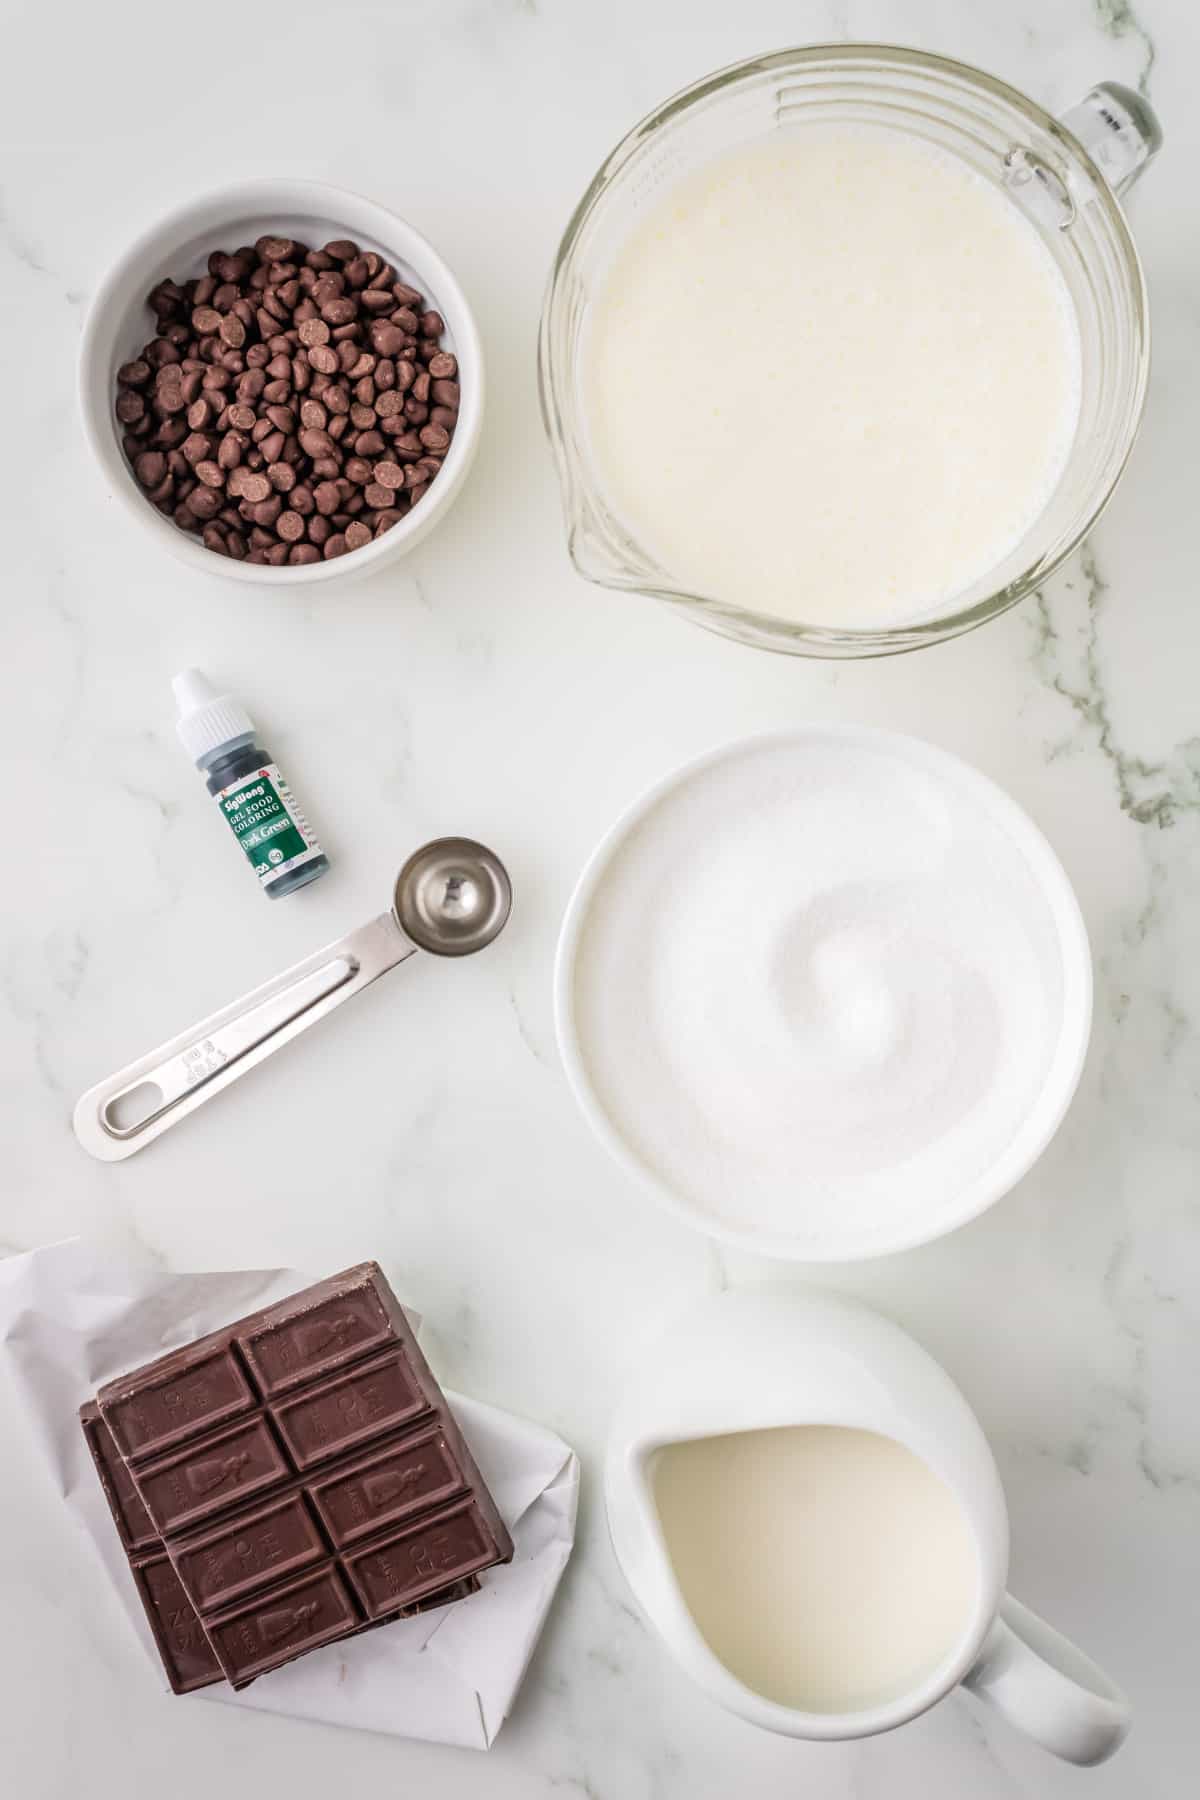
- Heavy whipping cream - adds a rich flavor and creamy texture. Try not to substitute this ingredient with something else since it’s the key to being a no-churn recipe.
- Sugar - because you just can’t have ice cream without the sweetness - right?
- Milk - whole milk works best here. Low-fat options can cause a hard, icy texture.
- Mint extract - try not to confuse this with peppermint extract, which has a stronger flavor. If that's all you have available, reduce the amount to half.
- Chocolate candy bar - For a sweet tasty flavor, look for milk chocolate. Semi-sweet tends to leave a bitter aftertaste in your mouth.
- Mini chocolate chips - add a chocolaty crunch. Be careful not to add too many, or they will take away from the creaminess of the ice cream.
- Food coloring - This ingredient is completely optional, but it’s hard to imagine mint ice cream without that minty green color. I like to add a hint of blue also for a fresh, bright color.
How to Make Mint Chip Ice Cream
Here are the steps and process images for how to make this peppermint ice cream recipe. (More detailed instructions are in the recipe card below.)
Start out by pouring your heavy whipping cream into a chilled bowl. Using an electric mixer, beat the cream until soft peaks form, about 2 to 4 minutes.

Add the sugar, milk, mint extract, and food coloring. Beat again until stiff peaks form. (Be careful not to overmix or the mixture could curdle.)
Gently fold in the chopped chocolate and mini chocolate chips until evenly distributed.

Pour the creamy mixture into a loaf pan and place in the freezer for at least 4 hours or for overnight, until hardened all the way through.

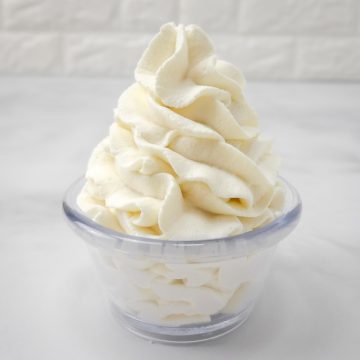
Serve in cones or bowls and top with extra chocolate chips and my Homemade Whipped Cream - yum!
How to Store Homemade Ice Cream
To store in an open pan, press a piece of plastic wrap or wax paper over the surface of the ice cream, then wrap the whole pan tightly with plastic wrap. This will prevent crystallization and freezer burn. Freeze for up to 2 weeks.
For best results, place the ice cream in a freezer-safe, lidded airtight container and store it in the freezer for up to 1 month.
Tips for Making the Best No-Churn Ice Cream
- Be careful not to overwhip the cream or it could curdle.
- If you can't find mint extract, peppermint extract can be used instead. It has a stronger flavor though, so you will need to reduce the amount of extract by half.
- Make sure to freeze the ice cream mixture for at least 4 hours before serving; overnight is best.
- Sometimes no-churn ice cream can be hard to scoop once frozen. To make the process easier, place your spoon or scooper in a cup of hot water for a few minutes before serving. This slightly softens the ice cream as you smoothly scoop it out.
- Have fun adding different mix-ins. Sometimes I add crushed Oreos or chopped-up Andes mints in place of the chocolate chips. My kids (and husband) go wild for this tasty change-up!
Other Recipes You'll Love!
If you love this recipe, please SIGN-UP for my NEWSLETTER and FOLLOW ME on FACEBOOK, PINTEREST, YOUTUBE, and INSTAGRAM for more delicious, down-home recipes!
Be sure to check out my how-to video in the recipe card below!
Mint Chocolate Chip Ice Cream Recipe
Recommended Equipment
- Electric Mixer (stand mixer or handheld mixer)
- Loaf Pan (9-Inch x 5-Inch)
Ingredients
- 16 ounces (about 2 cups) heavy whipping cream
- 1 cup granulated sugar
- 1 cup whole milk
- 2 teaspoons pure mint extract (NOT peppermint extract)
- 4-6 drops green liquid food coloring (optional) (If using gel-based coloring, start with just 2 drops.)
- 1 drop blue liquid food coloring (optional)
- ½ milk chocolate 4.4-ounce candy bar (2.2 ounces)
- ⅛ cup mini chocolate chips
Instructions
- Start by placing your metal mixing bowl and mixing tools in the freezer for 15 minutes to chill. (This will help the cream to whip up faster and have a better consistency.)
- In the meantime, use a knife to chop up half the chocolate candy bar into fine slivers. (You can also use a food processor to make this process easier. Simply pulse until the texture resembles bread crumbs.) Set aside for later.
- Add heavy cream to the chilled bowl. Using an electric hand-held mixer or stand mixer fitted with a whisk attachment, beat on medium-high speed just until soft peaks form, about 2-4 minutes.
- Add sugar, milk, mint extract, and food coloring. Beat again until stiff peaks form. (Be careful not to overmix or the mixture could curdle.)
- Gently fold in the chopped chocolate and mini chocolate chips until evenly distributed.
- Pour into a loaf pan and cover the top with plastic wrap, pressing it gently against the surface of the ice cream mixture. (This will prevent ice crystals from forming on top of the ice cream.) Place in the freezer overnight or for at least 4 hours to harden.
- Allow to soften slightly at room temperature for 2-4 minutes before serving. Top with whipped cream and extra chocolate chips. Enjoy!
Notes
Storage Information
To store in an open pan, press a piece of plastic wrap or wax paper over the surface of the ice cream, and then wrap the whole pan tightly with plastic wrap. (This will prevent ice crystals from forming on top.) Freeze for up to 2 weeks. For best results, place the ice cream in a freezer-safe, lidded airtight container and store in the freezer for up to 1 month.Helpful Tips
- Be careful not to overmix the cream or it could curdle.
- If you can't find mint extract, peppermint extract can be used instead, but you will need to reduce the amount of extract by half.
- Make sure to freeze the ice cream mixture for at least 4 hours before serving; overnight is best.
VIDEO
Nutrition
*Nutritional facts are calculated by third party sources and are not always accurate. If you are on a special diet, we highly recommend you calculate these values personally.









Karen
This turned out way creamier than I expected it too considering I didn't use an ice cream maker. I couldn't even tell the difference. It was so delicious and perfectly minty! Me and my family LOVED it!
Ranch Style Kitchen
Awesome! I'm so glad to hear that! Thanks for sharing!